I’ve been raising dogs practically all my life, and let me tell you, every single day is a joy of its own.
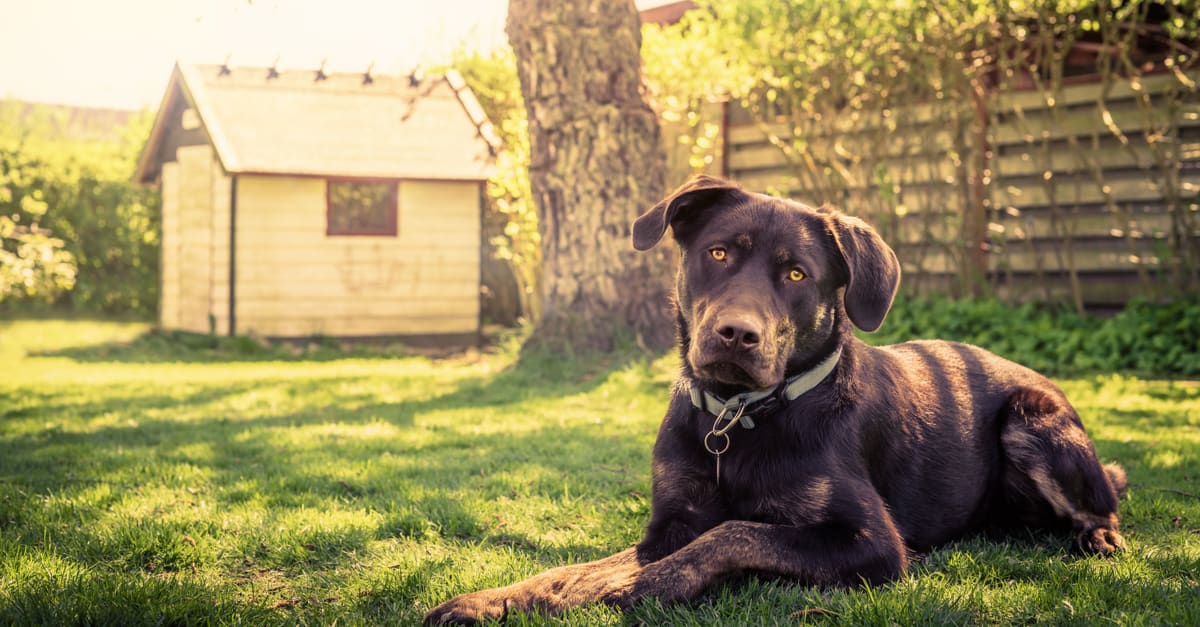
Now, my two loyal companions Bruno and Bella, follow me around wherever I go. So, as an ardent gardener who spends most of her time maintaining a beautiful lawn, it’s quite evident why they love playing outdoors, especially in the backyard.
Seeing how much time they spend outside, I decided to build them their very own dog houses. But unfortunately, both my canine companions didn’t like using their personal space during the winters here in Tyler, Texas.
And after realizing that the shelter wasn’t warm enough for them, it dawned upon me that I needed to insulate their houses to block out the unwanted cold.
However, I hate to admit that I wasn’t quite sure about the entire process. What came to my rescue? The internet, of course! I spent hours to gain all the required information on the topic.
So, do you want to know how to insulate a dog house? You’re in the right place. Hi, I’m Stacy Smith, and today, I’ve carefully created this guide to help you insulate your dog house.
Without further ado, let’s begin.
Ways To Insulate A Dog House
Dogs need shelter during warm and cold weather conditions, and a dog house is designed to do just that. However, it often fails to retain warmth, leaving your pet shivering in the cold. This is why I’d recommend insulating your dog house to block out the heat and cold during the summers and winters, respectively.
Now, I agree that there are ways to physically warm up a dog house, using electricity or any other possible method for that matter. But there are evident downsides to some of these methods, which make them complicated to incorporate.
I won’t be getting into the nitty-gritty details of these issues. What I plan on highlighting through this guide are a few convenient ways to insulate a dog house properly. Let’s take a look, shall we?
-
Choosing The Best Insulating Material
There is a wide range of materials, which can help you insulate your dog’s house, including fiberglass, reflective foil, bubble wrap, wood, and even water. Make sure you choose a material that’s easy to handle so you don’t face any hassle during the installation process.
In my opinion, fiberglass is an excellent option as it’s not only affordable and easy to install, but it also makes the dog house cozier. Other than that, I’d suggest opting for rolled insulation as it can be easily trimmed with a pair of scissors.
However, it’s also crucial to consider the climate and weather conditions in your area while choosing the type of insulation so that it effectively keeps the dog house warm.
-
Measurements
Once you’ve decided on the insulating material, carefully measure the walls and flooring dimensions of the dog house. Insulating the floor is crucial since most of the heat escapes from here.
That said, it will be easier for you to install the insulating material if the flooring is removable. And for hollow walls, you’ll be able to easily stuff the material inside the space.
-
Cutting & Installing The Insulating Material
Now that you’ve measured the dimensions of the floor, you can begin the process of cutting the selected insulating material to size using a craft knife or a pair of scissors. You need to ensure that the insulation offers a snug fit, and once that’s done, nail it down to secure it to the flooring.
After this, you may repeat the entire process, measuring and cutting the material required for insulating the walls and top of the dog house. And don’t forget to make sure everything is closely fitted.
However, this step obviously won’t be required if you plan on using water to keep the dog house warm. It’s an odd recommendation but proves to be an affordable, safe, and effective insulator, even in the form of ice.
That said, using water for insulating a dog house can be tricky as it’s a liquid. What you can do is arrange a bunch of small water bottles and then use wood or plastic panels to secure them in place. That’s not all; you’ll have to ensure that the panels fit snuggly to prevent the bottles from moving.
It’s also a good idea to empty a bit of water from each bottle before installing them as they might freeze in really cold weather; consequently, the bottles might burst.
-
Sealing The Gap
Make sure there are no gaps anywhere in your dog house, which may compromise the insulation. If you find any between the walls, ceiling, and floor, seal them using caulking. But please ensure that the caulking is completely dry before you let your dog back into the space.
-
Finishing Touches
After you’ve completed insulating your canine companion’s home, I’d definitely advise you to look for rough edges. And if you do find any, use sandpaper to smoothen them out to make the house safer and more comfortable for your pet dog.
Summing It Up
A basic dog house will help protect your furry friend from rain and wind but will not be able to keep her warm. That’s why it’s essential to insulate your dog’s home; it will block out the cold while retaining your loyal companion’s body heat.
Through this guide, I’ve tried to briefly explain the steps involved in the insulation process so that you’ll be able to keep your dog warm during extreme winters without having to spend a fortune.
Just make sure that you cover the insulating materials to prevent your friend from coming into physical contact with them. On that note, I’ve reached the end of this informative guide.
And with this, I’ll take your leave. Till next time!