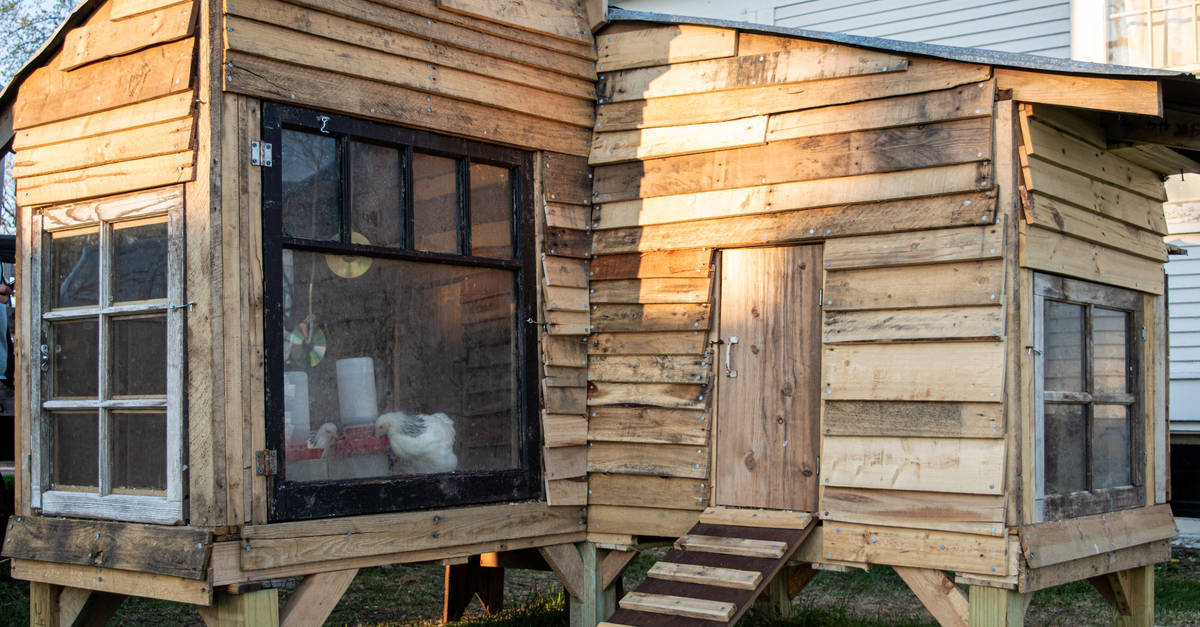
If you’re grappling with the idea of getting chickens, the cost of the coop might be a factor that’s stopping you.
Hi, I’m Stacy, and my love for spending time outdoors has led me to consider getting my own chickens. It feels like a natural extension to my gardening hobby, but I’ve checked out some fine coops, which happen to be quite expensive.
My plans were put on hold until I visited my friend in Boulder, Colorado. Used to living in the countryside, she taught me quite a few things about raising chickens, including how to build a chicken coop out of pallets. To my surprise, I found it to be rather cheap and efficient.
As a former teacher, I feel it is my duty to share all useful knowledge. So, without delay, here’s a step by step guide on how to go about making your own chicken coop out of pallets.
Steps to Build Chicken Coop From Pallets
-
Base Assembly and Timber Treatment
Any construction has to take place from the ground up. Thus, the pallets have to be placed on the ground, and the slats have to face upwards. Each gap is to be measured and made equal. Then, these gaps have to be filled with the slats, and they should be screwed in place.
Once done, this should form a solid base without any gaps. It also provides a nice underside to the chicken coop as a flat area that can be used for movement. Naturally, the idea is to make the coop last as long as possible.
Therefore, timber treatment becomes necessary. I recommend two coats to prevent rotting from moisture or ground dampness.
-
Fixing the Back Wall
The next step is to place the back wall on the ground. I suggest lifting the edge off the ground a bit since it makes the fixing process easier. Usually, old bricks or timber do the trick. If some timber is left, follow my friend’s advice and screw it diagonally for additional support.
It is best to drill pilot holes on the edges and the center. Then, I screw the back to the base to secure it with the help of the vertical supports.
-
Fixing Side Walls
Once the back wall is in place, the next step is to set up the side walls. Normally, while placing these, I have noticed that some trimming is needed to get the perfect fit. The extra portion can be sawn off, of course.
The next step is to decide which side you want facing inwards, and then perfectly align it. Holes need to be drilled where the vertical supports are, and then the walls need to be screwed securely. Once these are in place, flip the chicken coop upright.
-
Fixing Front Support
My friend taught me how to make sure that the walls are held in place, so they don’t flap outwards. The front support is there on the top side to tie it all together. For this, use a spare slat and drill pilot holes in place to ensure it makes the entire coop firmer.
-
Building the Roof
The trickiest part of making the hen coop is designing the roof. I have found that it is best to decide on the height and pitch beforehand. Two slats are needed, which ultimately have to be trimmed to fit over the walls that have been erected thus far.
Once the slats are of the correct measure, I like to put them against each other in an inclined position, making the shape of the roof. The pitching isn’t necessary right at this point. After this, it is best to get a spare piece of timber and put it between the slats, loosely screwing it.
Then, you should take the entire structure and place it on the coop so that the roof’s peak is aligned with the center. Further, accurate measurements need to be taken, and then the timber should be cut to pieces that can support the roof’s structure.
-
Filling in the Gaps
One of the simple and final steps to having the perfect chicken coop is to fill in all gaps. There’ll be spaces between the slats which have to be measured. My friend showed me how to first take the markings and then cut slats accordingly. If they fit into the gaps, simply screw the entire thing in place, and the structure should look more solid than ever.
-
Adding an Inside Base
One thing I have learned from being a teacher all these years is that foundations matter. I use the same principle in my chicken coop. The base can be made more stable by adding another layer on top of it. It also smoothens the surface since this is where the chickens will mostly move around.
-
Building the Door
The coop mustn’t just be secure but also accessible. Hence, the door becomes a vital addition to the structure. Ideally, the door should let you enter and clean the coop or collect eggs as needed. I prefer making it with slats and adding a few horizontal spare ones for support.
The gap that remains unfilled by the door can be covered using spare slats again. Finish up by adding T-hinges and then a bolt to secure the door.
-
Timber Treatment
The final step is to treat the entire coop. As someone who’s raised dogs, I know how animals are harmed by chemicals, so I’d advise everyone to be careful during the timber treatment process.
Use a sprayer or a brush, and cover all parts of the coop. It prevents moisture and water from seeping in, and the timber doesn’t rot either. Though I usually cover the roof with felt, an additional timber treatment serves as a layer of security to prevent leakages if the felt is damaged.
Final Words
So, I hope this guide helps you build the chicken coop you’ve always wanted. Be sure to have a set of tools ready because breaking down the pallets, and then setting up the structure can get tricky.
That said, I didn’t find it hard to build my coop, and it only got easier after the first time. Thus, if you run into any trouble, be sure to reach out to someone who has some experience building coops.
On that note, I will sign off. Till next time!