Ground Preparation
Preparing the ground is the first step in growing your peas properly. For the best results, choose a sunny location with well-draining soils. Peas can grow under a shade, but they won't be as productive and sweet as those plants in sunshine. For vining peas, pick a location where they can get support from a trellis or another structure. If there are no pre-existing supports, set up poles at the time of planting. The young tendrils should have something to climb on as soon as they emerge from the soil.
It's also best, if you can, to choose a location that didn't have peas before. There are many benefits to this practice of rotating crops. Lastly, before you plant, turnover your pea bed so that you mix aged manure and mulch well. You can also add a good sprinkling of wood and ashes before you plant the peas.
Choosing Seeds

Peas are pretty easy to sow and save. But, like all other seeds, it's advisable to choose safe seeds. You can go for organic, heirloom, and open-pollinated seeds made by a reputable supplier. Several suppliers grow their seeds without using a lot of chemicals like fungicide sprays and insecticides. You should be mindful of this as it can affect your health. Also, avoid buying hybrid seeds, as you will probably have nothing to save for the next growing season.
- Beautiful - Large premium packets of Sugar Snap Garden Peas (Pisum sativum). Crunchy, plump edible pods filled with round peas grow on vines reaching 5-6' tall. Easy to grow with consistent, heavy yields. Minimum of 13g per packet (about 55 seeds).
- Productive - Peas germinate in 6-10 days when soil temps are 45-75°F. Plant 1” deep and space 24-36” apart in an area with full sun. This variety will grow on vines reaching 5-6' tall with a spread of 4-6”. Pods will mature in 50-65 days, plant in USDA zones 3-9.
- Good Eats - Peas make a delicious and refreshing garden snack. They go great on top of a green salad and can be eaten raw, blanched, or cooked.
- Pisum Sativum: These finest quality, non-GMO, USDA Organic Snap Pea seeds produce bushy vines with “dwarf pods” that are sweet, crisp, and delicious. There’s no need to shell or destring them either, just pick and enjoy!
- Benefits of Trellising: Sugar Daddy Snap Peas grow in bushy vines so a trellis is not needed; but all peas like a bit of support and a trellis, or fencing, will make the peas easier to spot at harvest.
- Freshly Packed: These seeds are packed for the current growing season and will provide high germination rates next year as well.
How to Plant
If you want to speed up the germination process, soak your seeds in water for a single night before you plant them. After that, sow them one inch deep; you can go slightly deeper if you are growing on dry soil. The seeds should be planted about two inches apart, and adjacent rows should be 7 inches apart. Usually, peas don't like their roots disturbed, but you can transplant if necessary. You can start the seeds in a biodegradable pot then move everything into the ground. Over time, the pot will disintegrate and liberate the plant.
Care

After planting, it's time to care for your peas until you can start harvesting. Water the peas sparsely at about one inch per week unless they start showing signs of wilting, in which case they won't produce any pods. Overwatering them will encourage pea rot.
If any of the seeds wash out of the soil while watering, poke them back in. As the peas are germinating and growing, remove the intrusive weeds by hand. You can also use a hoe but do it carefully; you can damage the shallow fragile roots.
If you have mulched the plants deeply with some grass clippings, you won't need to fertilize them. Bush peas can grow to about 30 inches tall, whereas most pole types grow to no less than 4 - 6 feet tall. Both types of peas will benefit significantly from support. For this, you can use thin tree branches, trellises, chicken wire, or netting. Place the poles or trellises into the ground near the plants before they start germinating.
To minimize the growth of weeds, apply mulch around growing peas. This will also help to keep moisture in. Watch out for cutworms and aphids; they can cause significant damage to your plants. It's also best to prevent disease by watering the plants at the base only and directly on the soil, not on the plant.
Keep the Pea-Loving Birds Away
Birds love peas. Add some strips of tin foil to keep birds away from the seeds. Birds will not land close to the plants due to the fluttering and shiny foil.
Give your Peas Some Companionship
Another good way to protect your peas is companion planting. Mixing peas with other plants presents several benefits. For instance, release a scent that causes bugs to avoid areas where they're planted. Therefore, growing them is a form of insect control.
Hold the Mulch
A few weeks after planting, your plants should be up and ready to be thinned out. This is a process where you identify the best performing plants and do away with the rest. When you are done thinning, you can proceed to add mulch. Peas will benefit significantly from mulch; just ensure that you don't apply too much of it as it can be damaging as well. If you live in a humid area, then there is no need to mulch. Mulch holds moisture that if the ground is too wet, you can end up having mildew issues.
How to Harvest Peas

You can harvest most varieties of peas after about 60 to 70 days from the day you plant them. When harvesting snow peas, pick them when the delicate pods start showing some immature seeds inside. Snap peas, on the other hand, can be harvested when the pods are plump, but you can still notice some gloss. Shell peas should be picked before the pods start being waxy.
You should note that peas mature very fast. Therefore, as soon as you see the flowers in bloom, starting checking them daily. The best time to pick the peas is in the morning, just after the dew has dried. That's when they will be at their crispiest. You should also try to pick them regularly so that they can develop more pods.
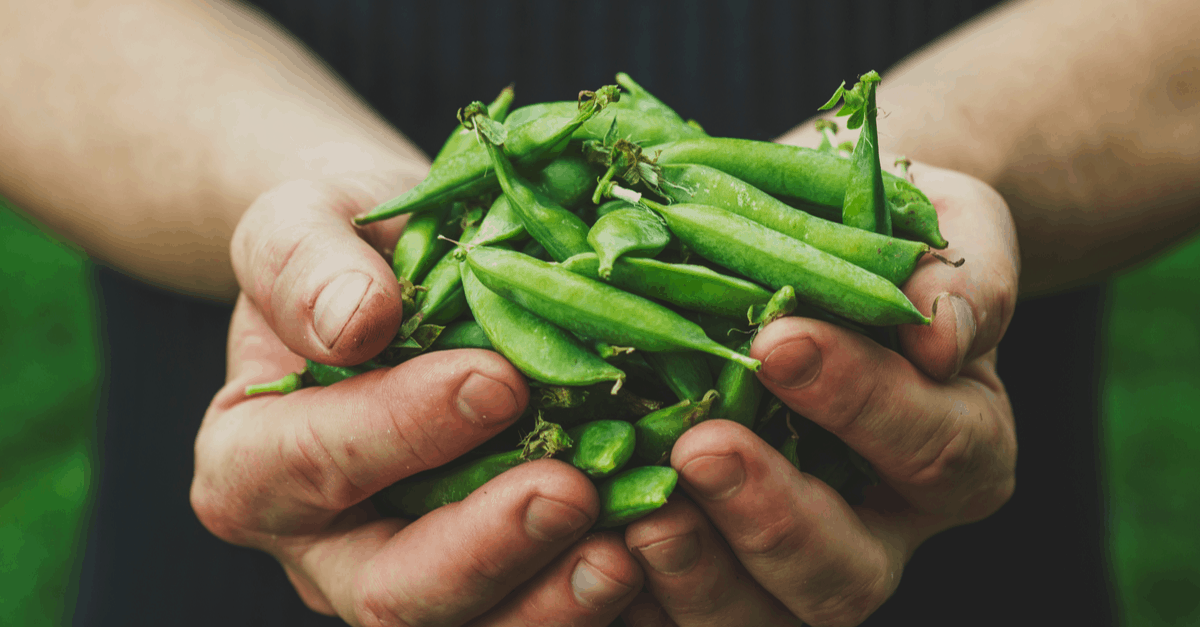
When picking the peas, use both your hands so that you won't damage them. Your one hand should hold the vine as the other pulls the pods off the plant. If you start noticing some of your pea pods darkening and hardening, it means they are overmature. Most pea plants will stop producing in summer and die back.
The peas will be at the peak of flavor just after you harvest them. If you missed their peak period, you can still dry them and use them during winter for making soups.
Growing peas is not too difficult as long as you pick the right time and take good care of the crop. The plants provide significant rotational benefits to subsequent cereal, oilseed, and other types of crops. This guide should give you a good starting point when it comes to growing, caring for peas, and harvesting.


