Laying a patio is not as easy as you might think. While it seems almost effortless when a professional does it, the job requires finesse.
The whole process is a blend of art and science as you need not only skills but also technical knowledge that will help you reach perfection. In fact, like any other architectural project, you’ll need several years of practice until you can manage it all without any guidance.
That said, it’s not like I have plenty of on-the-job experience, but it’s something that I’ve picked up from my dad, who was nothing short of an expert. Howdy! I’m Stacy Smith, and today I’ll be telling you everything about how to lay patio pavers on dirt.
Without further ado, let’s get started.
How To Lay Patio Pavers On Dirt
Step 1 – Remove The Grass
The first thing you must do before getting started with the laying process is to remove all the grass, weed, and foliage. The area should be left entirely barren for your project, so clear away these obstructions.
However, make sure to dig deep and uproot the grass completely as you don’t want it regrowing between the pavers. Therefore, it’s best to use a spade so you can eliminate the grass along with the root system.
Step 2 – Get The Best Filler Dirt
As a rule of thumb, a perfectly laid patio starts with an even ground. In this case, it’s best to use fill dirt to plug the recessed pockets. You’d want to pay attention to the quality of the fill dirt as the best varieties do not contain organic matter, toxins, or large chunks of debris.
This loose filler material is essential for most land leveling projects, and, as such, is even used before laying building foundations. Do not attempt swapping it out with topsoil as the latter contains organic matter.
While it may initially fill in the gaps, the organic matter will eventually alter the topsoil’s volume, leading to more such gaps. This will ultimately compromise the integrity of the patio pavers, and they may lose alignment over time.
Therefore, it’s essential to establish a level base with the right type of dirt so your pavers stay in line all the time.
Step 3 – Mark The Land
Use stakes to chalk out the land where you will lay the pavers. Ideally, it’d help if you mark the desired elevation of the land on the stakes, so you can fill the area with dirt up to that point. Once you have figured out the height, use the fill dirt to build up the area within the stakes.
The application is pretty simple; all you need to do is pack down the filler after pouring it so it stays grounded in its location. Also, make sure to repeat the process as the ground might still be a little lower than intended after you pack down the dirt. Check the level on the stake and add just enough.
Step 4 – Final Touch With A Hand Tamper
Compacting the soil is a critical step that you cannot miss. Even though I have mentioned it in the previous step, here I’ll elaborate a bit more. After adding the final thin layer of filler dirt, use a specialized hand tamper to pound over the soil.
You may not be able to apply enough pressure by hands, but this tool will help you make even thrusts to pack the filler. Remember, the more closely packed your filler is, the more uniform and stable your pavers will be. Therefore, you must execute this step in the best possible manner to ensure properly aligned pavers in the future.
Step 5 – Roll Out Geotextile Fabric
Depending on how big the project area is, you may need a single or more geotextile fabric sheets to cover the newly leveled spot. Carefully roll out the fabric on filler soil and secure the edges with poles.
If you’re wondering why it’s necessary, let me say that this fabric is designed to establish the base, prevent weeds from resurfacing between pavers and facilitate better drainage. Not doing this could potentially harm your patio pavers in the future.
Step 6 – Place Edge Restraints
This is as simple as making a boundary. You may use metal or wood restraints for the purpose and fasten them with nail spikes.
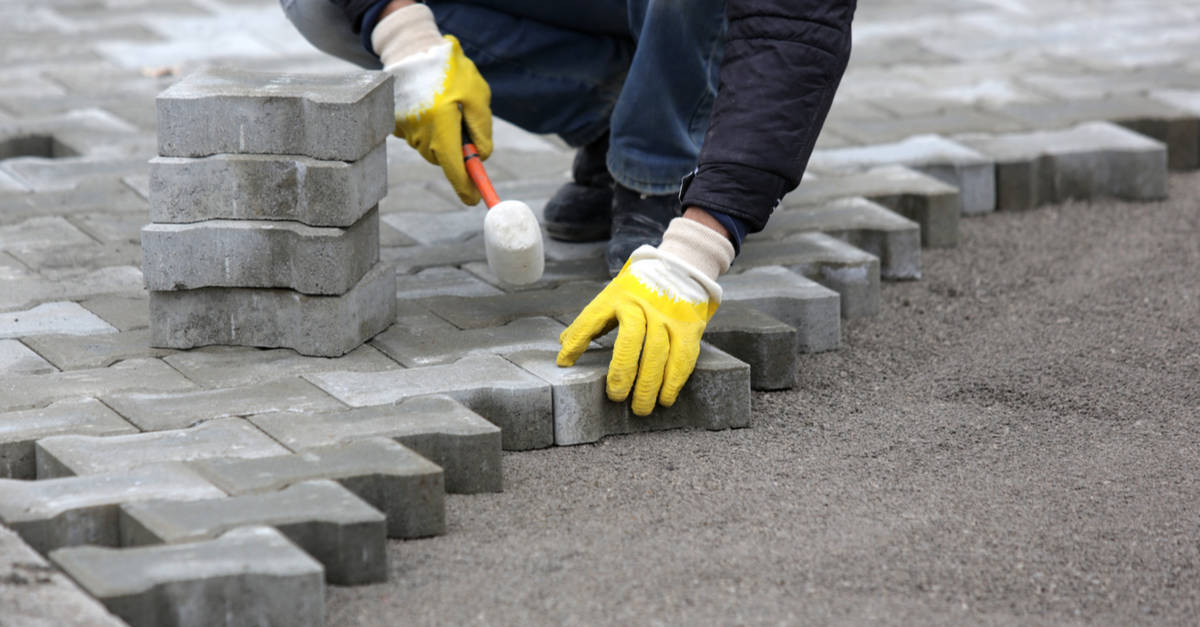
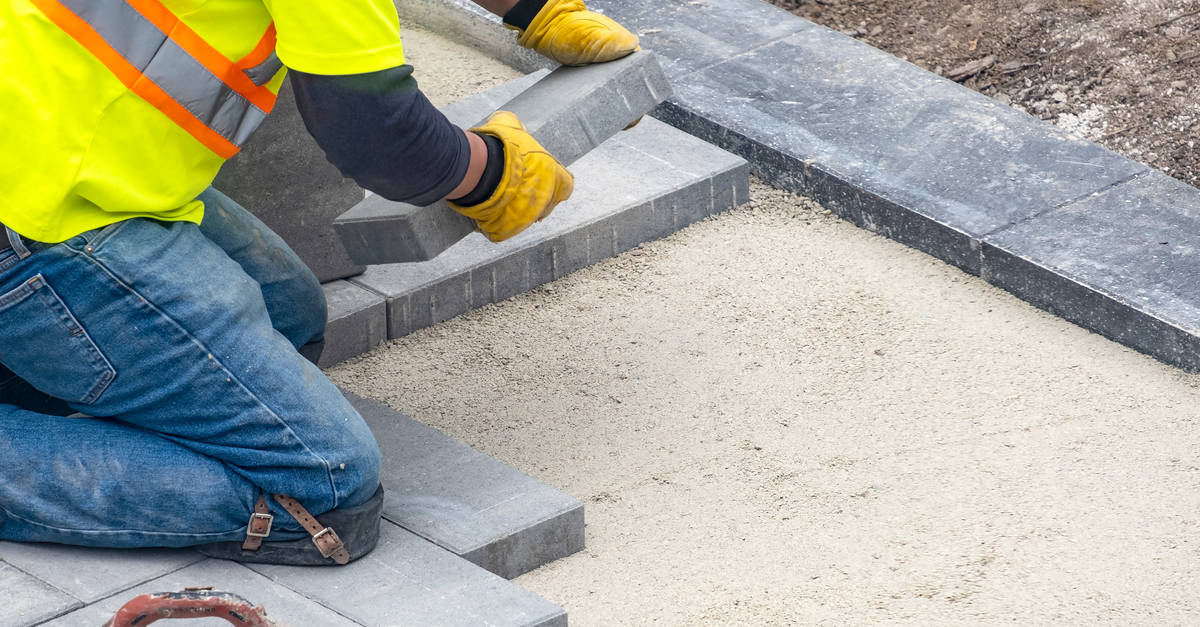
Step 7 – Lay The Patio Pavers
You can arrange the patio pavers in any pattern you like, but make sure that they are correctly juxtaposed against each other. For the best results, I’d suggest beginning the process from one end and then moving inwards. Divide the area into subsections and move on to the next one as you finish laying the pavers in one segment.
But before you start with the next part, place a wooden board on the completed subsection and gently strike it with a hammer to integrate the bricks with the dirt. Make sure the brick and the dirt are completely level. Repeat the process until you have installed all the pavers.
Step 8 – Pour Stone Dust
Finish the project by adding stone dust across the freshly laid pavers. And then sweep the dust and let it accumulate between the bricks. This is an added barrier against weed, so they don’t creep back through gaps and crevices.
Final Words
That’s all, folks!
With this, I hope you have learned the basics of laying patio pavers. However, for best results, it’s essential that you follow all the instructions to the tee. Additionally, you can consult with an expert if you’re not sure about any of these steps.
That said, the core idea behind perfectly arranged pavers is to create a firm foundation. So, make sure to do every bit to build a base that’ll best serve your purpose.
On that note, I’d like to take your leave. Till next time!