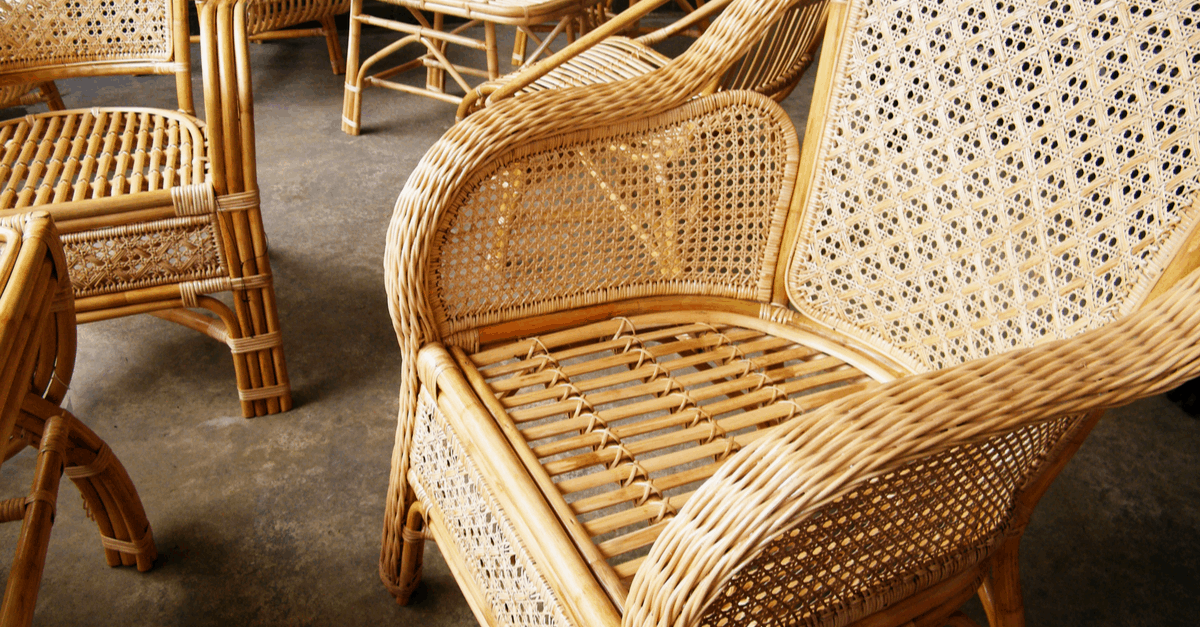
When it comes to furniture for patios, balconies, or even poolside areas, wicker is one of my favorite styles.
My house has a lot of outdoor space, and sometimes I find it a little bare without any furniture. This has led me to experiment with many styles, but wicker is one of my personal preferences. Not only is it beautiful to look at, but it is also very durable. Moreover, wicker furniture is great for outdoor use as it's resistant to harsh weather.
A few weeks ago, my niece Amy (who often visits me), noticed how my patio furniture's woven seats keep changing or always look new. She asked me if I had been buying new furniture every few weeks, and that's when I told her how I just replaced the seats myself. She seemed baffled but eager to know more.
Hi there! I'm Stacy, and if you too want to know how to replace outdoor glider woven seats, then you're in luck. I have put together this guide on repairing woven seats for people like Amy who are into DIY and customized furniture. Not only is it fun but also cost-efficient.
How To Replace Outdoor Glider Woven Seats

A Couple Of Complementary Methods
As I mentioned earlier, one of my most favorite styles is wicker. Wicker is a method where the material is woven into the chair. It gives a complex and elegant look to the furniture, and is pretty simple to take care of. These types of furniture pieces can be kept indoor but are ideal for the outdoor areas of the house.
When I spoke to Amy about the furniture, she was surprised to see how the same chair can have a woven seat one day and a cushioned seat the next. Of course, once she knew I was replacing and repairing at home, she wanted me to give her pointers. So, I explained the following couple of methods.
Replacing With Weaving
Now, it is not a necessity to replace woven seats by weaving. Some may find the weaving process complicated, but it is overall a lot easier than replacing it with upholstery.
Retaining the look of the seat is only possible in a cane woven chair. For more rigid materials like willow or reed, you can change the look with cane or upholstery. Let's start with weaving cane for the seat.
Step 1
For this method, you might have to buy a kit that has a cane string along with other essentials like wooden wedges to help with the weaving. It is not essential to buy but kits like these are ideal for beginners.
The first thing to do is use a utility knife or pliers to get rid of the original weaving. You might also find old tacks in the wood used to hold the cane, which should be removed to move ahead with this process.
Step 2
This is where all the work happens. First, you will have to measure the front and back rails of the chair. After that, subtract the back and front measurement and mark the difference on the front rail. The distance between the marked points should be the same as the back measurement.
Now, from here on, there are multiple patterns you can attempt. However, the one I use the most is a regular rush seat weaving pattern which starts in the corners.
Suppose you start at the left rail, place the cane in position and take it over and under the front rail. Then, over the left rail and through the middle to repeat the process on the right side. This will go on till you reach the marked points on the front rail. Make sure you keep the weave tight by tapping it together.
Weaving the center together is where it becomes tricky. There are quite a few ways to do this, but once the corners are done, I extend the coil to the back corners and bring it to the front. Hereafter, I continue with the same over and under method.
Step 3
As you start filling the middle, you will have to add fillers to give it shape before it is fully done. For this, cut four pieces of cardboard and insert it to provide the seat with good rigidity. After this, you should continue with the weaving process. Once the process is complete tie a knot to tighten everything together.
Replacing With Upholstery
If you plan to add upholstery over a woven seat, then after the steps above, add a foam cushion on top for added comfort. However, if you want to go for a different look, remove the original caning and do this:
Step 1
Trace and cut out wood to make the seat and cover the plywood with foam. To make sure it remains tight, you can staple the underside of the seat in the center. Also, you can cover the foam with batting and a neutral-colored sheet for a smoother appearance.
Step 2
Once the entire thing is stapled, trim off all the excess fabric and batting. Ensure that there is no creasing. You can also make pleats for the corners, so it fits appropriately in the chair's frame. The good thing about this method is that you can change the look without changing the foam or batting by adding covers over the seat.
To Sum It Up
These were just some of the methods I mentioned to Amy. She had many questions after, but overall she got clarity on the matter. And I hope this guide has provided some clarity to you too.
I would like to reiterate that while both methods can be time-consuming, weaving is a bit more beginner-friendly. For the upholstery method, a certain amount of experience in woodwork might be required. However, it is easier to customize the look with upholstery. And on that note, I shall now take your leave.
Until next time!
