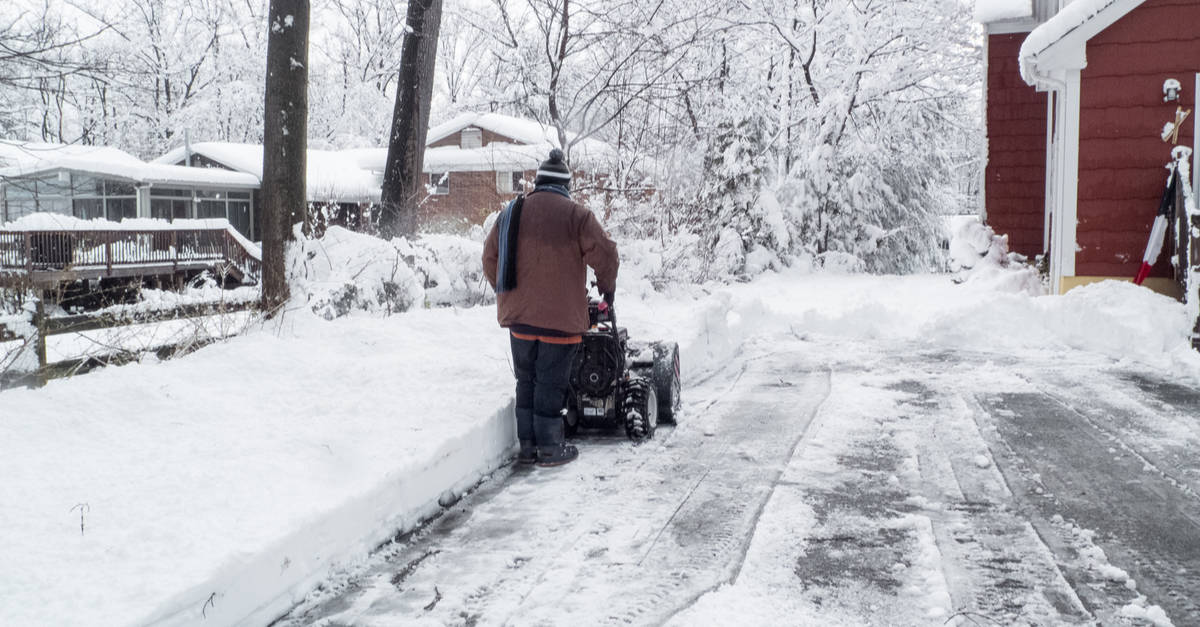
Every year, I have to deal with a thick snow cover on my yard, and usually, I'm ready with my reliable Ryobi machine.
But this time, it has been nothing short of a nightmare when my snowblower broke down, and I could see my yard literally drowning under thick ice. I did some digging online and asked my neighbor for some troubleshooting tips.
Obviously, there were some tutorial videos that were genuinely helpful, and I formed a working idea about how to go about the repair process. After a little tinkering here and there, my snowblower was up and running in no time.
Hi! I'm Stacy Smith, your friend in need, when your lawn equipment starts acting up. Today, I'm going to share some information and tell you exactly how to fix a snowblower. And I'm confident that after going through this guide, you'll be able to undertake all the necessary measures to patch up your machine.
Without further ado, let's get down to business.
Steps to fix a snowblower

1. Know That Empty Tanks Make More Noise
First things first, make sure your machine is not running low on fuel. Check the fuel tank and ensure that the gas isn't dirty. Ideally, it would help if you started with clean fuel for maximum performance.
You can tell if the fuel is old since it forms a visible varnish-like coating in the carburetor. Also, if you did not add a fuel stabilizer while refilling the tank, it may have lost its volatility. In that case, you'll need to empty the system through the carburetor.
After draining, you can fill the tank with new fuel and pour a fuel stabilizer. Sometimes, old fuel can also make its way into the carburetor. When that happens, the carburetor needs to be cleaned or even replaced, depending on the damage.
Other than that, fuel lines and filters can get clogged due to dirty fuel and may require servicing at the shop. However, you can do away with all such hassles by simply switching to an electric snowblower.
2. Lubricate Moving Parts
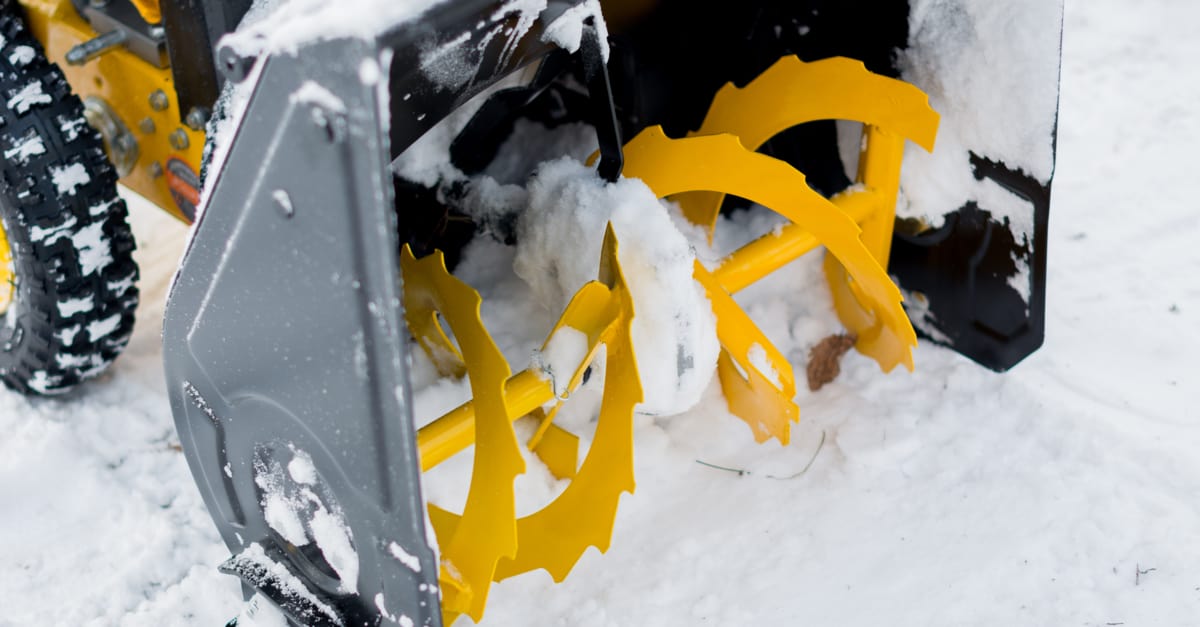
The auger transmission rotates the blades that feed snow into the chute. If you look carefully, it's the metal box located on the T-intersection of the auger shaft and the drive shaft. Transmission housings typically have a bolt that has to be removed for ascertaining the grease or oil level.
Check the level and top it off after referring to the owner's manual for the right kind of lubricant. Moreover, you should ensure that the auger blades spin freely around the shaft. Read through your manual and look for instructions on how to remove the shear pins.
At this point, the auger should turn freely and even move side to side on the shaft. Push it to one side and lubricate the exposed part and then repeat it on the other end. Thereafter, give it a spin to spread the lubricant evenly, then put the shear pins back in place.
3. Tighten Cables For Smooth Functioning
Sooner or later, the cables that propel the wheels must be readjusted to apply the right amount of tension to the belt on dual-stage snow blowers. If you operate the drive handle and the machine jerks forward, you may need to tighten the line.
Unclip the cable from the hand lever and tighten the line's threaded adjustment at the machine's base, then reconnect and test the handling. Continue adjusting until the lurching stops. After adjustment, make sure to apply some lubricant on the pivot points of the moving parts.
4. Replace The Scraper Bar
A flat metal bar underneath the machine slices off snow and ice from the ground and into the auger. When you run the snowblower over concrete, gravel, and asphalt, the metal wears down, leaving furrows of snow behind.
Simply prop up the snowblower, remove the bolts fastening the bar to the mainframe, and replace it with a new one. For spare parts, you can check with the store or search online. Install the new bar in a way so that it's about 1⁄8 inch above the ground.
Caution: Do not operate a single-stage snowblower over gravel as it can collect and throw the gravel along with snow, and you could risk damaging windows or injuring people.
5. Check The Belt Between Uses
The friction needed to work the auger belt on a single-stage machine tends to chip away the belt faster than on dual-stage units. In-between uses, take off the cover, and inspect the belt for cracks.
Replace a damaged belt by popping out the wheel first and then the belt. While reinstalling, the order is reversed. Replacing a belt on a bigger two-stage snowblower means dismantling the machine to access the flywheel - a task best suited for professionals.
6. Clean or Replace The Spark Plugs
The holy trinity for your snowblower to operate seamlessly includes: fresh fuel, the right amount of engine compression, and a spark to ignite the fuel. Therefore, cleaning or replacing the spark plugs could resolve your problems.
Even if the spark plug is in working condition, there could be some issues with your ignition coil. To investigate, you can use spark plug testers and ignition coil testers that'll help diagnose problems in your snowblower.

Final Words
That's all from me, guys!
Before heading off, I suggest running your machine through a pre-season checklist to keep it in top working condition throughout the winter. However, during repeated use, you'll be wise to keep an eye on some critical parts, so you can steer clear of potentially costly and time-consuming repairs. Commercial snowblowers especially cost more, so we recommend you buy only the best by following this guide.
On that note, I would like to take your leave and hope that your queries are resolved. Nevertheless, if you feel a little out of depth with certain repair work, it's best to get in touch with a professional. After all, you do not want to take a step in the wrong direction.
Till next time, keep your yard snow-free!
