For a long time, my patio was lying in a dilapidated condition and urgently needed renovation.
My husband and I conducted a quick inspection, and it was apparent new paving stones needed to be laid down. Naturally, my son readily agreed to help us out.
We gathered all the essential supplies from the garden, and I mostly watched as my son and husband got to work on the patio. Since I couldn't help with the construction, I decided to supervise the proceedings, and soon I noticed that the ground sloped to one side.
Even a novice such as me knew that wasn't right. As all three of us tried to decide what had been done wrong, we were visited by our neighbor Mr. Cross, who is an engineer. When he dropped in to say hello, I showed him the patio, and he immediately recognized the problem.
Soon, Mr. Cross joined the bandwagon, and all three men went to work under my able supervision. That's when it struck me that I should take down the steps to help out future renovators.
Hi, I'm Stacy Smith, and today I'll tell you how to lay paving slabs on a slope.

Things To Consider
1. Types of Paving Slabs
Before I discuss how to build steps with pavers on a slope, it's essential to know the types of paving slabs. There are numerous options for you to consider, such as square slabs or brick-shaped slabs, so I've narrowed down my top picks.
For me, concrete pavers, Indian Stone pavers, granite pavers, limestone pavers, and colored stone pavers are the top models you can choose. Moreover, you need to consider the size of the area you're having renovated to pick the appropriate pavers.
You may even opt for one that has a decorative appeal to make your pathway stand out. Similarly, using brick pavers provides a sense of refinement and is ideal if you've got a brick road leading to your home.
Now, let's discuss the tools you'll require for the project.
Tools You Need
When you go down to the market, remember to buy the tools along with the slabs, ensuring you've got everything you need for the purpose. I asked Mr. Cross after he finished working, and he mentioned the following items were required to provide a smooth area for the slabs.
Therefore, you'll need spray paint, 3'2” x 4 boards, hammer, shovel, yard rake, wet saw, plate compactor, and coarse sand. For those of you wondering, the spray paint helps you mark out the area on which work is to be done.
Furthermore, the boards help make the surface flat, after which you've to use the rake to remove the sod and spread the gravel. You'll need the wet saw for cutting the pavers while the hammer permits you to knock off the pieces. Finally, the plate compactor allows you to harden the soil and get rid of loose earth.
Steps Involved

Having talked about the types and tools, I'll now discuss the procedure you need to follow. The entire process consists of six simple steps, and you can even learn how to build a paver walkway on a slope.
Without further ado, let's begin.
Step 1:
Firstly, you need to mark out the area where the slabs have to be laid. If the construction is more or less straight, you may also use strings and stakes to demarcate the area.
Apart from that, if the path takes a curve, your garden hose comes in handy to follow the lines. It'll make it easier for you to spray paint, or you may also add flour.
Step 2:
After demarcating the area, the next step is to remove sods, rocks, roots, and other objects that may be a hindrance. Keep at it until you're satisfied there are no debris remaining, and then use the rake to even out the dirt. While doing so, it would be best if you took your time since leaving large holes will lead to water accumulating underneath the slabs.
Step 3:
The next step is installing borders on either side of the pavers, and I may even suggest using plastic landscaping borders. These have rounded edges, which will last a long time and prevent grass from growing over your project.
Step 4:
Now, coming to the busy end of the construction, it's time for you to get your hands dirty. So, add crushed rock and coarse gravel to the surface and ensure that it goes down at least two inches for best results.
Moreover, you'll need the rake to make the surface even, followed by the plate compactor to push the rocks down.
Step 5:
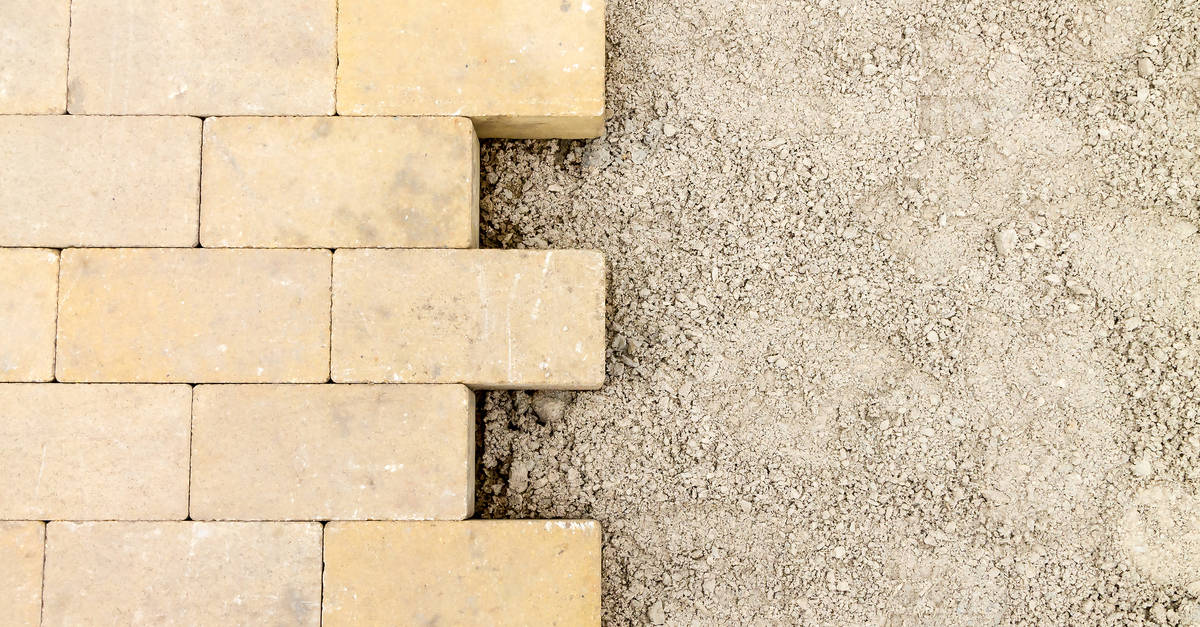
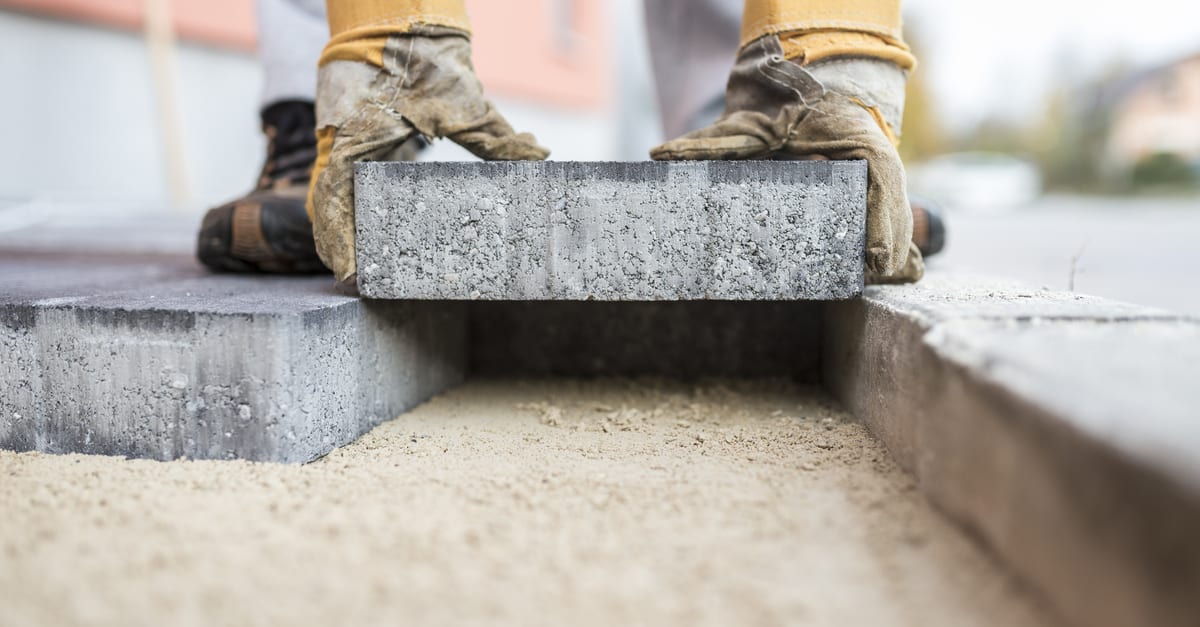
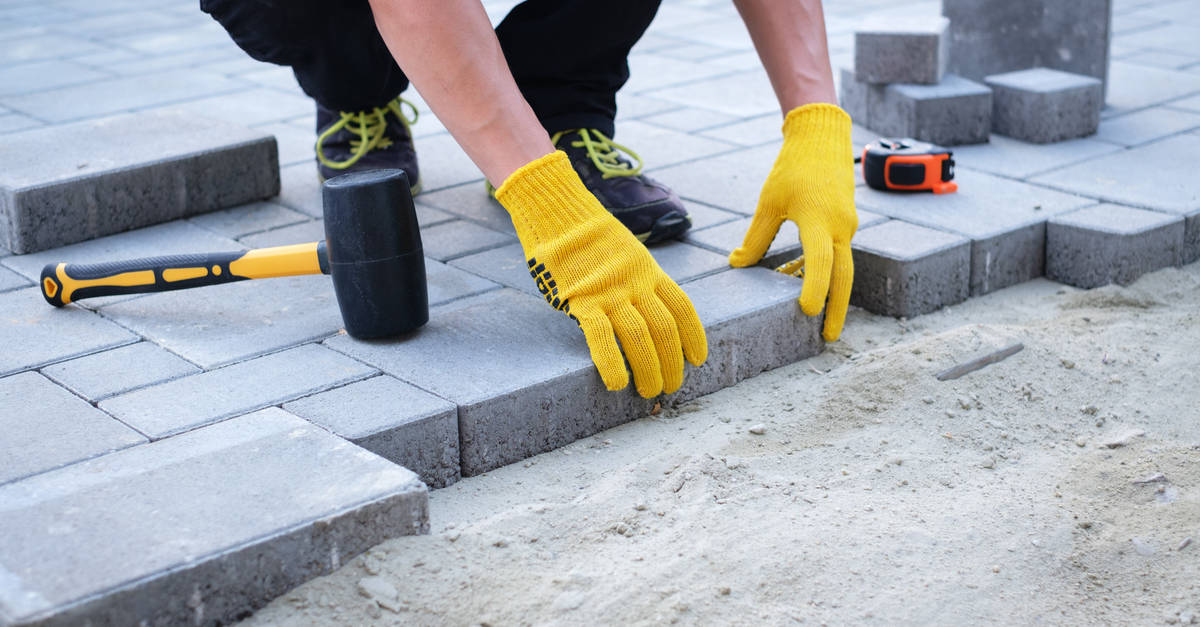
Finally, you'll have to lay the pavers, and you should start at the bottom of the demarcated area. Slowly, work your way up, and I recommend you place the middle slabs first to avoid the same mistake my husband and son did. It'll help you get a better idea of whether it's sloping to one side, and you can gradually work your way outwards.
Furthermore, use the board to flatten out the slabs and if you encounter any unevenness, dig out the debris and flatten the surface again. To ensure you adhere to the degree of sloping, you'll have to raise the slabs in small amounts, for which you'll require smaller pieces.
Besides, it's essential to cut the slabs at the side to accommodate them within the border.
Step 6:
After the slabs are laid, take the coarse sand and spread it across the renovated area. It helps to fill the cracks, so don't be frugal. All said and done, sweep away the excess sand, and what you're left with is a nice, clean driveway or patio.
Final Words

I've come to the end of my guide, and hopefully, I have been able to convey the steps in a detailed yet straightforward manner.
Don't be flustered, but instead, take your time and ask for help when needed. It's time for me to read a book on my new patio, so that's all for now.
Take care and see you soon.

Great tip about using plastic to landscape around rounded edges. I need to get a couple of steps laid down in the garden. I'll have to hire a paver to set up the foundation path.
Thanks for reading 🙂