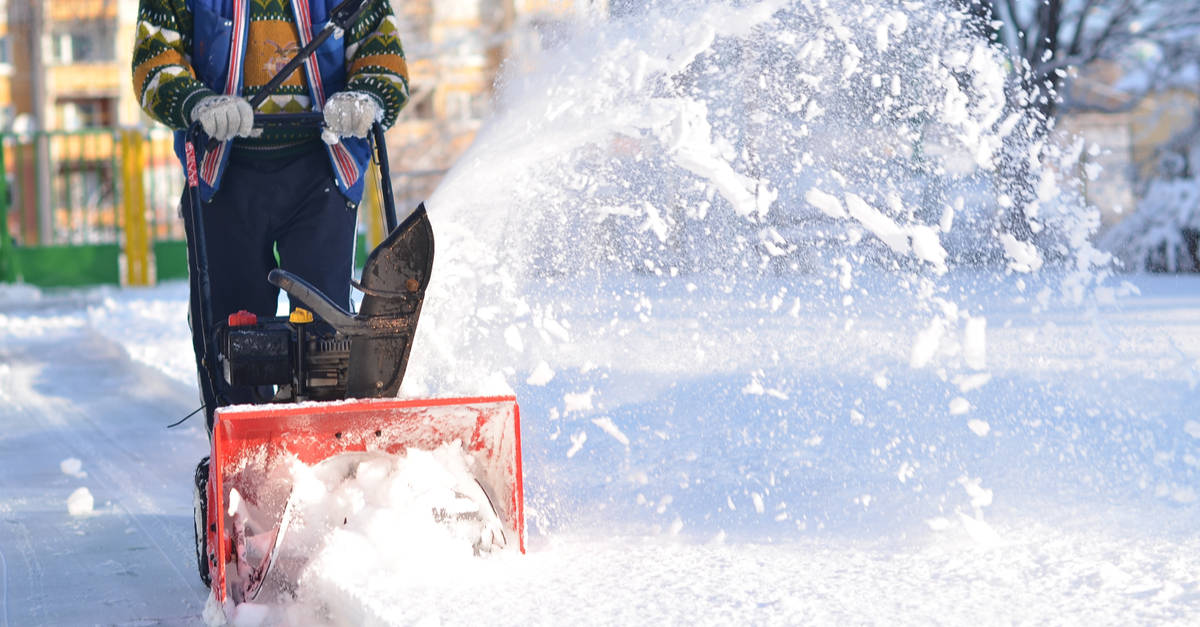
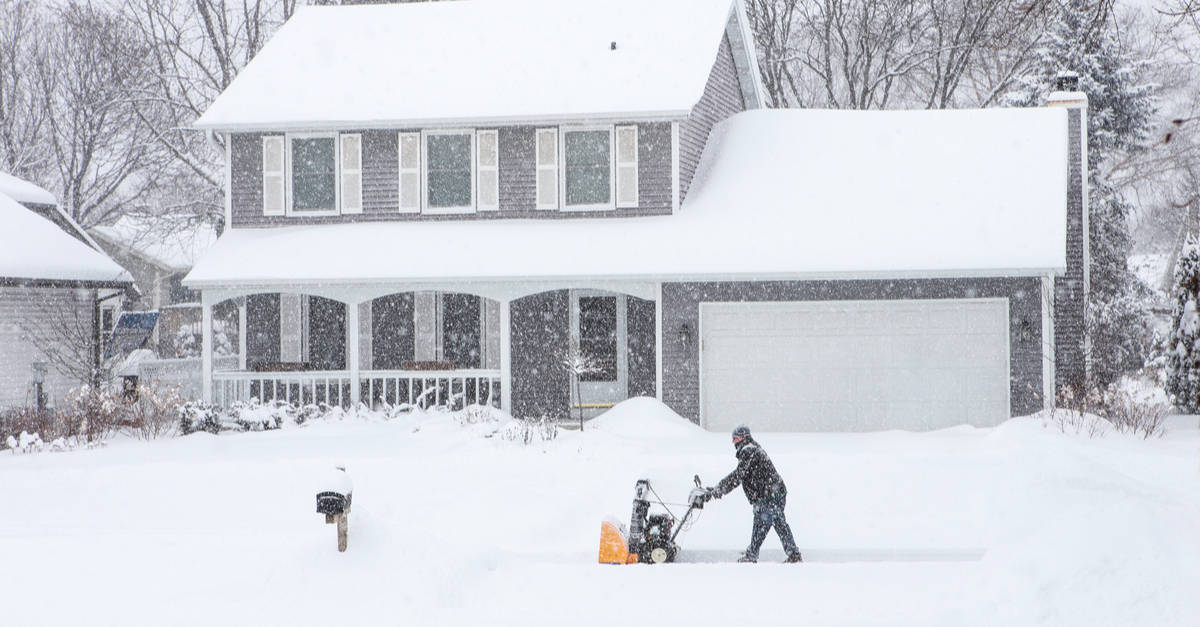
It’s a common practice to buy equipment and forget about them. Then when the time comes to use them, they give up the ghost.
That’s exactly the problem I faced last winter when my Ryobi snowblower broke down. I’d been using it for the past couple of years without any trouble. And I also had a backup Craftsman model sitting in the garage...so no worries. At least, that’s what I thought.
Then, when the Ryobi gave up on me, I tried to get the Craftsman to work. But it just wouldn’t budge and sat there like a lump of metal. Being left unused for a long time had taken its toll on the device.
But as my readers know full well, I’m not one to give up, and I learned how to start it up again.
Howdy folks! I’m Stacy Smith, your friendly neighborhood snowblower expert. And today, I’m going to teach you how to start a snowblower that has been sitting idle for a long time. Whether an automatic or a walk-behind snowblower, this guide has got you covered.
So, without further ado, let’s begin!
My Recommended Process
I suggest the following steps when trying to start up a snowblower that’s been left unused for a long time.
Step 1: Perform A Maintenance Check
Most users expect that as their snowblower hasn’t been in use for a long time, it doesn’t need any maintenance. The trouble is, in reality, the opposite is more accurate. Simply because your snowblower has been sitting idle, doesn’t mean you can forgo the preliminary maintenance check.
I recommend beginning by checking the tire pressure; this helps ensure that your snowblower mobility is not compromised. Then, change the oil and take a look at the spark plugs. These, too, might have to be replaced.
Finally, take care to grease all of the fittings carefully; this is essential to getting them back into operation. Once you’ve done all this successfully, you can proceed to the next step.

Step 2: Do A Temperature Check
In this step, you need to check whether your snowblower was stored warm or cold. In case you find that the device feels unusually chilly, it’s better that you close the choke when starting the machine.
This is necessary as the choke controls the carburetor’s air supply, creating a higher concentration of fuel. This helps to jump-start the cold engine and ensure that it fires correctly. Be advised, when you start the snowblower for the first time, it might give off heavy fuel smells.
In case your snowblower was stored warm, you don’t need to manipulate the choke and can simply set it halfway. This, of course, depends on the snowblower model that you’re using.
Finally, turn the ignition on and start the engine according to your instruction manual. And yes, don’t forget to slowly open the choke until it’s completely open, and the engine is running without any trouble.
Step 3: Adjust The Throttle
When you’re starting a snowblower after a long idle time, you’ll need to operate it at peak performance to push out all the dirty fuel accumulated over the summer.
To do this, ensure that the throttle is turned on to the highest setting. This will allow the device to burn through any extra fuel left in the tank.
Step 4: Starting The Snowblower
Now, we come to the actual stage where I tell you how to turn on the snowblower. Here, it’s important to mention that you’ll need to start your snowblower twice to ensure that it runs smoothly.
When you start the snowblower for the first time, it’s essential that you follow these steps as they are given:
First, close the choke
Next, switch on the ignition
Make sure to open the fuel valve
Then, prime the carburetor
Drive out all leftover gas
Based on the amount of gas that’s left in the snowblower, you’ll need to let it run for the time it takes to burn through it all. This might take up to an hour in many cases; once the stale fuel is used up, you need to replace it with a fresh supply.
Step 5: Perform A Visual Inspection
Once the first startup is done, I suggest you do a visual inspection of the unit to find if there are any problems such as leaking fuel. If you find any visible signs of damage or malfunction, this might mean your snowblower needs some parts to be replaced.
If that’s the case, I think it’s best to take your snowblower to a maintenance shop for repairs.
Step 6: The Final Startup
By now, your snowblower should have been properly primed, adequately cleaned, and full of new fuel. Now, the only thing you need to do is turn the unit on and engage the ignition.
starting a snowblower
Once done correctly, your snowblower should work as good as new, and you’ll be able to remove snow with utmost ease and efficiency. One last note of caution: after you’re done clearing the snow, be certain to turn the unit off properly. Otherwise, you might be risking unintentional startups.
Final Words
Now that you know my process for starting up an idle snowblower, I hope you won’t have any trouble getting old units to work again. Just make sure you follow the above steps properly, and you’ll be good to go.
That being said, I do acknowledge that all snowblower owners may not have the required technical know-how to perform all the steps properly. This might mean that even after following all instructions, your snowblower might still not start up.
If you’re facing such an issue, I think it’s best to call an expert and put matters in the hands of the professionals. After all, a snowblower is an essential piece of equipment, and you don’t want to take chances with it, do you?
On that note, I’ll take your leave. Take care!
