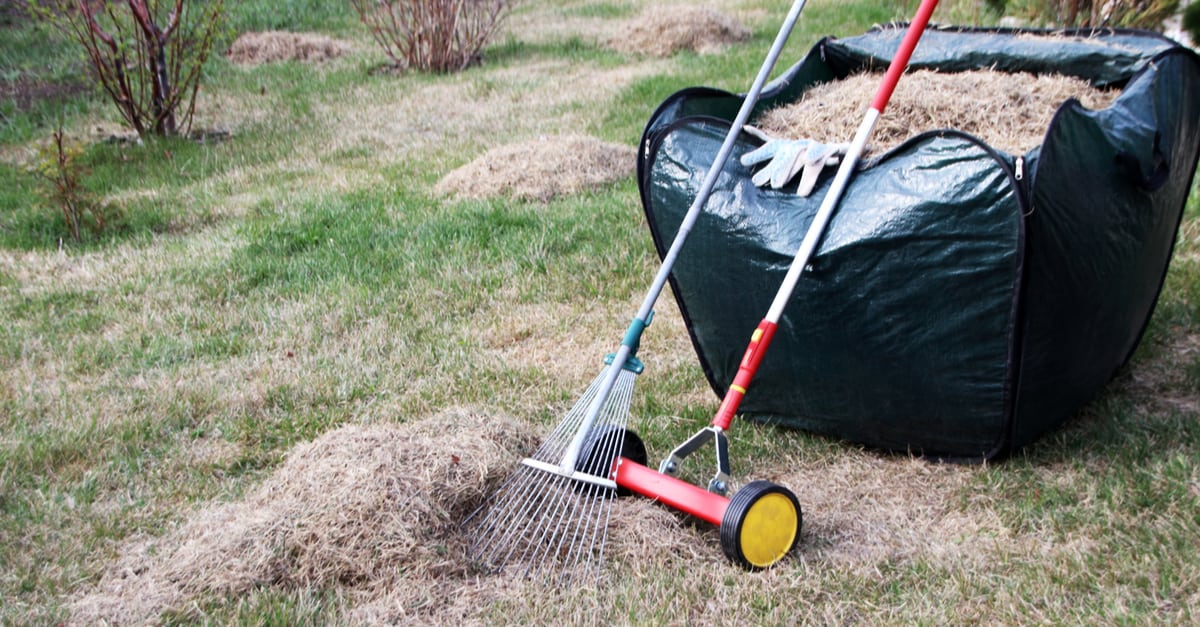
Last Sunday, after coming back from Bible study, I decided to spend some time on my lawn.
I noticed thatch growing on my lawn, but I wasn't too concerned. A little thatch never did anyone harm, and it helps provide insulation from the hot Texas weather, allowing the soil to retain moisture and provide a protective cushioning.
But I forgot to keep an eye on it, and when I looked out today, I saw that it had increased to a thick layer. That means pests, and with the dogs roaming about, they could contract diseases. I decided to tackle the issue and brought out my rake.
However, I failed to dethatch it properly. Right then, I remember that my younger son told me to look things up on the internet whenever in doubt. And after some research, it was plain as day how to use my rake in the best way.
Hi, I'm Stacy Smith! And today I'll tell you everything you need to know about how to use a dethatching rake.
So, let’s get going!
What is Dethatching?
For those in the dark, thatch comprises both living and dead grass along with stems, shoots, and roots. When it becomes thicker and grows to more than ¾ of an inch, it is time to get the rake out and clean your lawn.
Dethatching is the removal of the plant material that's decaying to allow water, air, nutrients, and fertilizer enter into the soil. It also ensures that when it rains, your lawn will drain much better. To dethatch perfectly, you'll need the right rake. Check out our guide on the top leaf rakes to pick one.
When to Dethatch Your Lawn?
You may also wonder whether there is an appropriate time to dethatch your lawn, and the answer is yes. The dethatching and aerating season go hand in hand, and for cool grasses, you should dethatch in early spring or at the onset of fall.
For warm-season grasses, you can dethatch after the second round of mowing in late spring to tackle the rapidly growing grass. Now, you can get help and ask someone to do it for you. But trust me, taking care of your lawn is fulfilling. So, take your rake out and follow in my footsteps.
How To Use A Dethatching Rake

I have listed down these seven simple steps to make your job more comfortable. So, without further ado, let's begin!
Step 1
If you have a small lawn, you can use a rake tailor-made for dethatching. However, for a more extensive garden, you'll most likely have to rent the appropriate dethatcher. And if the store owner calls it a vertical cutter, verticutter, or power rake, don't be confused; it's the same thing.
Step 2
Before using the rake, you must mow your lawn to half the average height for better results. It is difficult to remove all the dead bits manually, so you'll have to take the help of a machine. After the top layer is gone, you can get down to the intricate part using your rake for better results.
Step 3
While it may be called a dethatching rake, it's no different from using a regular rake. Once you attack the thatch, the tines dig into it and pull it upward, thereby loosening it. Then you can remove it without any added burden. As you're using the rake, you can see the thatch detaching from the soil and coming apart.
Step 4
Another critical thing to remember is to mark any irrigation lines, sprinkler heads, or any other appliance in your yard. Steer clear of them, or you may end up damaging your water supply line.
I still remember how I got all wet after hitting the irrigation line, and my husband had a tough task fixing it. It's best to deal with those areas later after you have cleaned out the rest of your lawn.
Step 5
While dethatching, you must remember to adjust the spacing and cutting depth on your rake according to the type of grass in your garden. You can ask the rental agency to do it for you if you think you might forget. You must remember to set the blades in a manner that they cut no more than ½ inch into the soil.
Also, it's a large tool, and your aim is to get rid of the unwanted elements. You don't want to damage your lawn, so be careful and follow the instructions.
Step 6
After dethatching, your lawn will look messy, but don't be worried because it should look that way. It would be best if you focused on collecting all the uprooted thatch and removed it from the lawn.
Step 7
In case bare spots were created during the dethatching procedure, you don't have to be concerned. You can use special seeds available in the market to mend your lawn. Another critical point is to fertilize your yard after you have removed the thatch.
Without fertilization, the process isn't complete. Having said that, never fertilize before dethatching because it's not the same. Then bring out the sprinklers and water your lawn and remember to do that regularly, which will help the grass recover.
Summing It Up
So, keeping your lawns fresh and clean is no big deal, and I hope you can do it yourself.
Remember not to be too hasty but to keep an eye out and bring out the rake when the grass is more than ¾ inches. Make sure that you have a good idea regarding the placement of all the pipes and sprinklers. Be slow but thorough since it is a large tool and could damage your lawn.
Keep the fertilizer close by so that you don't forget to apply it after you have removed all the unwanted elements. And daily watering will keep your grass fresh and give you a beautiful lawn.
That's all the time I have. I got to take the dogs for a walk. Bye!
